
Rita Ora has a habit of making red-carpet hair look effortless, and her latest sleek French twist updo at the Red Sea International Film Festival is no exception. It’s polished, grown-up and very wearable – the sort of look that works as well for a winter wedding or black‑tie work do in London as it does in Jeddah. With a few pro-informed tricks and some patience, you can recreate a version of this classic style at home.
Why Rita Ora’s French Twist Works So Well
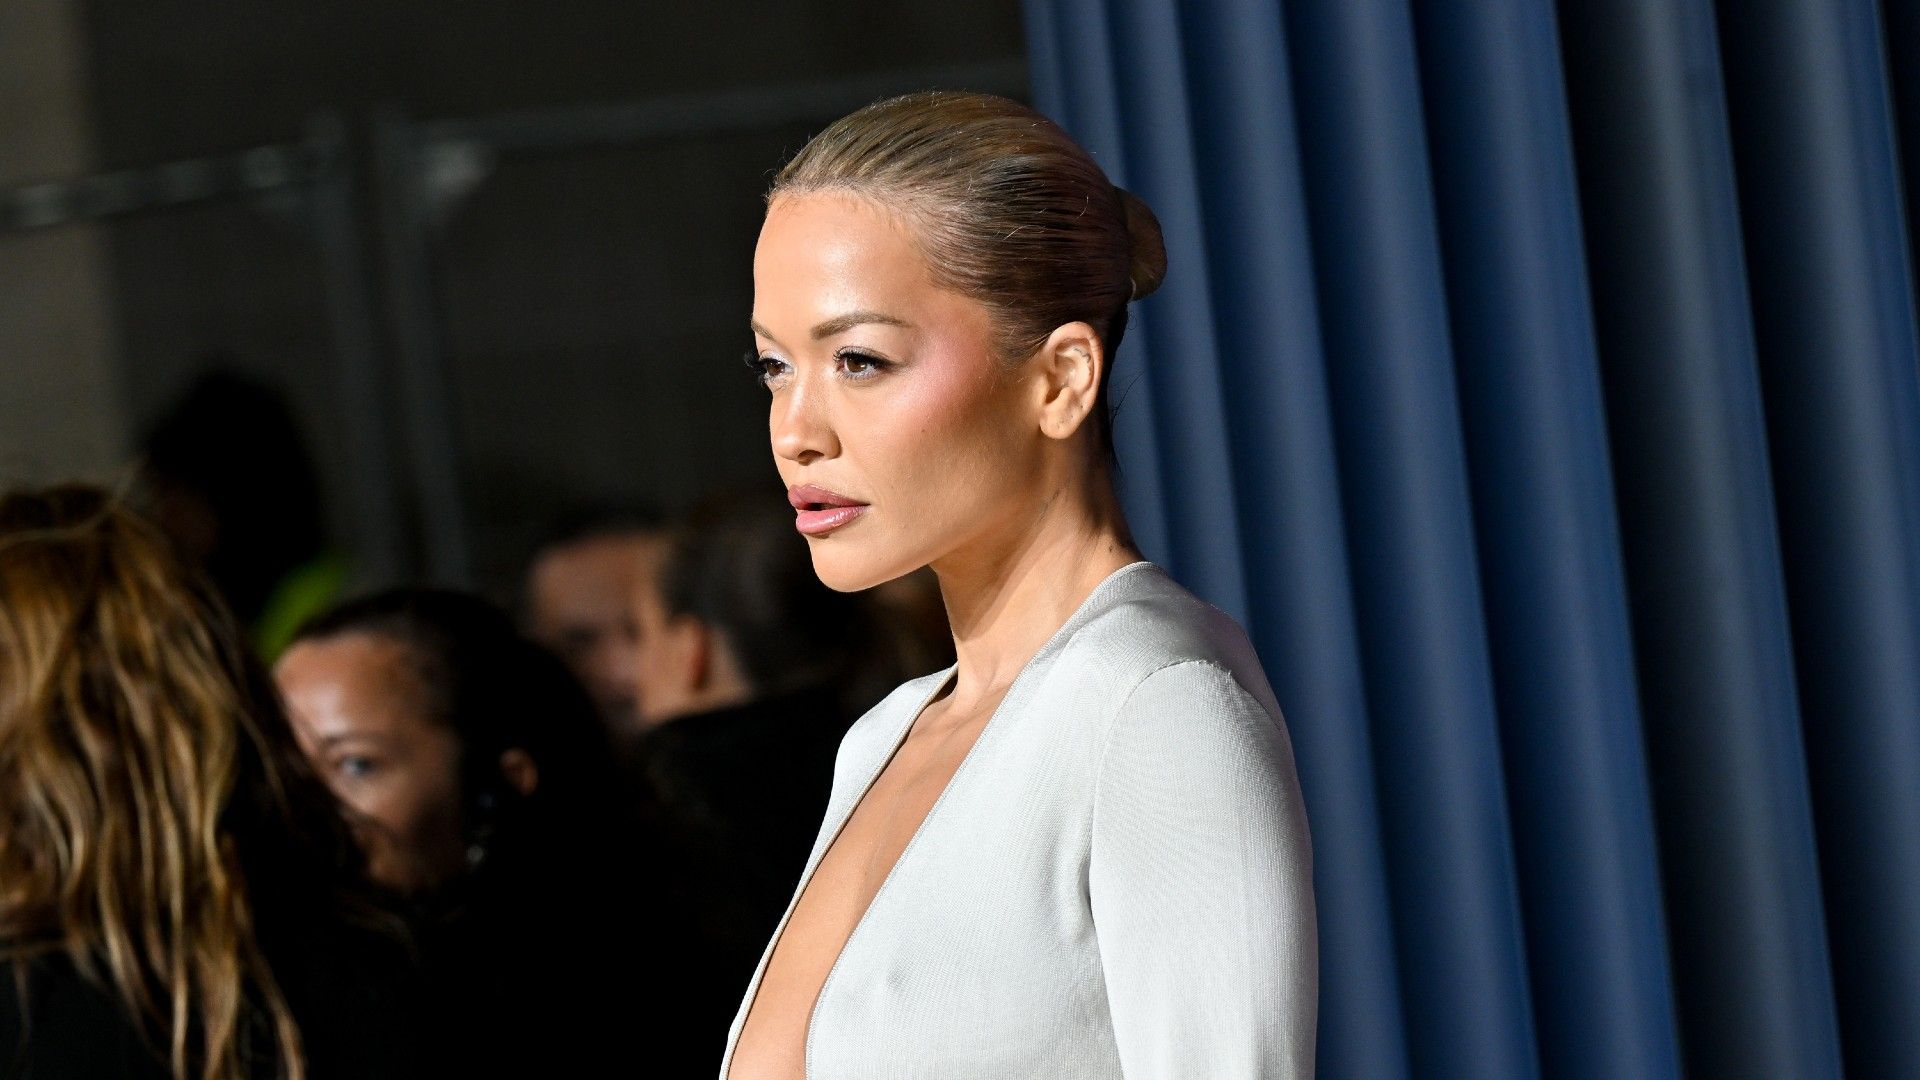
The French twist has never really gone out of style, but Rita Ora’s take feels especially current. Instead of stiff, prom‑style hair, her twist is glossy, sculpted and close to the head, with clean lines that highlight her neck and jaw. The finish is almost liquid – the sort of glassy shine many UK stylists now aim for on red‑carpet clients.
On British red carpets you’ll often see two French twist extremes: soft and romantic with loose pieces, or strong and graphic like Ora’s. Hers leans into the latter, with:
- A smooth, high-shine surface from root to tip.
- Hair swept back away from the face, opening up her features.
- A twist that’s tight and pinned vertically, keeping the silhouette slim.
- Minimal flyaways – crucial under harsh flash photography.
For everyday life in the UK, this translates beautifully for party season. You can keep the same structure but soften the finish slightly for a more wearable effect, or dial up the gloss and hold if you’re heading to a black‑tie event or winter ball.
From a practicality point of view, the French twist is ideal if you’re dealing with coats, scarves and unpredictable weather; once it’s pinned, your hair stays put and is far less likely to frizz around the nape than a loose blow‑dry.
Prep Like a Stylist: Getting the Base Right
Every strong updo starts with thoughtful prep. UK session stylists will tell you that the hair you start with is just as important as your pins and technique. The French twist particularly benefits from hair that has a bit of texture and grip rather than being freshly washed and slippery.
Most professionals recommend working with hair that’s washed the day before and smoothed with a light conditioner, not a heavy mask. This gives enough natural traction for pins to anchor without the style collapsing. If you’re working on naturally textured or coily hair, you can either smooth it out with a tension blow‑dry beforehand or twist it in its natural state for a more sculptural, fashion‑forward finish.
Before you start, take a few minutes to prep properly:
- Apply a small amount of heat protectant and blow‑dry the hair, focusing on smooth roots.
- Add a texturising spray or light mousse through lengths for hold.
- Use a soft bristle brush to direct the hair backwards without creating static.
- Have a selection of long, strong bobby pins and a good, flexible-hold hairspray within reach.
If your scalp is sensitive or prone to tightness, many stylists advise avoiding heavy backcombing at the roots; instead, create grip with product and gentle tension. This is kinder to the scalp and to fragile hairlines, particularly around the temples and nape.
Step-by-Step: How to Create a Rita Ora–Inspired French Twist
Once your hair is prepped, you can start building the twist. While a salon visit will always give the most red‑carpet result, this is a style you can learn to do yourself for nights out or formal events.
-
1. Create a low ponytail without a band.
Gather your hair at the nape as if making a low ponytail. Use your brush to smooth the sides and top, keeping the hair close to the scalp – think sleek, not puffy. -
2. Set your direction.
Decide which side you want the visible seam of the twist to sit on (Rita’s is often slightly off-centre for a more sculpted feel). Right‑handers usually find it easier to place the twist on the left. -
3. Anchor the base.
Still holding the ‘ponytail’ with one hand, start inserting bobby pins vertically up the back of your head along the centre line, crossing some pins in an X for extra security. You’re creating a firm spine for the twist to sit against. -
4. Roll and twist.
Gently twist the length of your ‘ponytail’ away from your face. As it tightens, start folding it upwards against the pinned spine, tucking the ends into the roll as you go. This folding motion is what creates the classic French twist shape. -
5. Secure the roll.
Use more pins to fix the outer edge of the twist to the spine, inserting them horizontally into the roll and then turning them towards the scalp. This pro trick helps pins disappear while holding more hair. -
6. Refine the silhouette.
Check the profile in a mirror. For a Rita‑style finish, keep the twist narrow and long rather than wide and rounded. Gently pull the crown area for the tiniest lift if you prefer a softer shape. -
7. Smooth and gloss.
Run a tiny amount of serum, pomade or styling cream over the surface with your fingertips, then mist with hairspray. Use the tail of a comb or a clean mascara spoolie to coax any flyaways into place.
Expect the first attempt to feel a little awkward. Many hairdressers suggest practising on a quiet evening rather than five minutes before you need to leave for an event. Once your hands remember the motions, this can genuinely become a 10–15 minute updo.
Adapting the French Twist for Different Hair Types and Occasions
Rita Ora’s gloss-finish twist is ideal inspiration, but it’s important to adjust the technique to suit your natural hair type, thickness and the event you’re heading to. UK stylists regularly adapt classic updos like this to work with fine, thick, curly, coily or relaxed hair – there’s no one ‘correct’ version.
For fine or thinning hair:
- Use a volumising mousse or root spray before blow‑drying to prevent the style looking flat.
- Consider adding a gentle backcomb just at the crown for structure, keeping it minimal to avoid tangles later.
- Opt for a slightly looser twist with a softer outline, which can make hair appear fuller.
For thick or very long hair:
- Work in sections: first twist and pin the lower half, then wrap the upper half over the top.
- Use larger, stronger pins or even hairpins designed for bridal styling.
- Don’t be afraid to tuck and hide extra length deep inside the twist – this can actually make the shape more dramatic.
For curly and coily hair:
- You can either stretch the hair first with a tension blow‑dry or keep texture visible for a softer, editorial look.
- Cream-based stylers and gels are often preferred over sprays to maintain hydration and definition while creating hold.
- Instead of a super-sleek top, you might leave a subtle wave or texture around the hairline to balance the structure of the twist.
For different dress codes:
- Black tie or red carpet: Emulate Rita’s ultra-sleek finish with a high-gloss serum and precise brushing.
- Weddings or daytime events: Loosen a couple of face-framing strands and keep the finish slightly softer.
- Office party: Pair the twist with a side parting or a softer fringe to stop it feeling too formal.
From a real-world standpoint, it helps to decide your hair look at the same time as your outfit. Try your French twist with the top or dress you’re actually wearing – you’ll quickly see whether you want something sharper like Rita’s version, or a more undone twist to balance a structured blazer or gown.
Explore More: Discover related reads from Hairporium — News • Guides • DIYs • Expert Articles.
Try Next: Discover more DIY recipes and styling tricks at Hairporium DIYs.
Key Takeaways
- Rita Ora’s French twist updo is a sleek, modern take on a classic, with a narrow, vertical shape and high-shine finish.
- Good prep – including next‑day hair, texture products and a smooth blow‑dry – makes the style far easier to create and longer‑lasting.
- Anchoring a strong pin ‘spine’ before rolling the twist is the key professional trick that keeps the updo secure all evening.
- The technique can be adapted to fine, thick, curly or coily hair, and softened or sharpened depending on your outfit and occasion.
- Practising the twist ahead of a big event is the most realistic way to achieve a red‑carpet inspired result at home.
Frequently Asked Questions
How long does hair need to be for a French twist like Rita Ora’s?
Most stylists suggest shoulder‑length hair as a minimum for a full French twist. If your hair is slightly shorter, you can still mimic the effect with a smaller twist and more strategic pinning at the nape.
Can I do a French twist on very thick or heavy hair?
Yes. For heavy hair, UK professionals often split the hair into two vertical sections, twisting and pinning the lower half first, then wrapping the upper half over it. Using long, sturdy pins and plenty of grip products will make a big difference.
Will a sleek French twist damage my hairline?
When done gently, a French twist shouldn’t cause damage. Many hairdressers recommend avoiding excessively tight tension, particularly around the temples and nape, and not wearing very tight updos every day. If you feel pulling or discomfort, remove and redo the style more loosely.
What products help achieve Rita Ora’s glassy shine?
Most stylists combine a smoothing blow‑dry cream or serum with a light finishing oil or shine spray. The aim is to coat the surface lightly rather than saturate the hair. Overloading products can weigh hair down and make it look greasy under indoor lighting.
How do I make my French twist last through a whole evening?
Work with slightly ‘lived‑in’ hair, build a solid pin structure, and layer hold in stages – a texturising product before styling, then a flexible-hold hairspray once the twist is in place. Keeping a couple of spare pins and a mini hairspray in your bag is a practical insurance policy for a long night out.


More in Hair diy
View all hair diy