Whether you are choosing a wig, deciding on hair extensions, finding the right hairstyle for your face shape, or solving a hair problem — Hairporium's expert guides give you the clarity to make the right decision. Seven categories. Hundreds of decisions. All covered.
Seven Expert Categories
Every hair decision, organised into seven expert categories. Browse a guide below, or let the Hairporium AI Stylist build a recommendation around you.

Wigs
Choosing a wig involves far more than picking a colour you like. The right choice comes down to five connected factors: wig type, lace type, density, cap construction, and how the wig fits your everyday lifestyle. This guide walks through each one in plain language, showing how lace fronts, full lace, and 360 styles differ, what density levels actually look like when worn, and which constructions feel most comfortable for long days. Whether you are buying your first wig or upgrading to something more natural, you will learn to balance realism, comfort, budget, and maintenance with genuine confidence.
Read guide →
Extensions
Hair extensions can transform your length and volume, but only when you choose the right type for your hair and routine. This guide compares every major application method — clip-in, tape-in, sew-in, micro-link, fusion, and halo — explaining how each attaches, how long it lasts, and how much upkeep it demands. You will learn to match extension colour to your mid-lengths and ends, scale length naturally without an obvious join, and protect your own hair underneath. By the end you will know exactly which method suits your budget, lifestyle, and the look you genuinely want to achieve.
Read guide →
Hairstyles
The hairstyle that looks stunning on someone else may not suit you at all, and this guide explains why. Rather than chasing trends, you will learn to make hairstyle decisions using five connected factors: your face shape, hair type and texture, daily lifestyle, maintenance tolerance, and personal style. We break down which cuts balance each face shape, how texture changes what is realistic, and how to communicate clearly with your stylist before any scissors come out. Whether you are considering a dramatic change or a subtle refresh, you will walk into the salon knowing precisely what will work for you.
Read guide →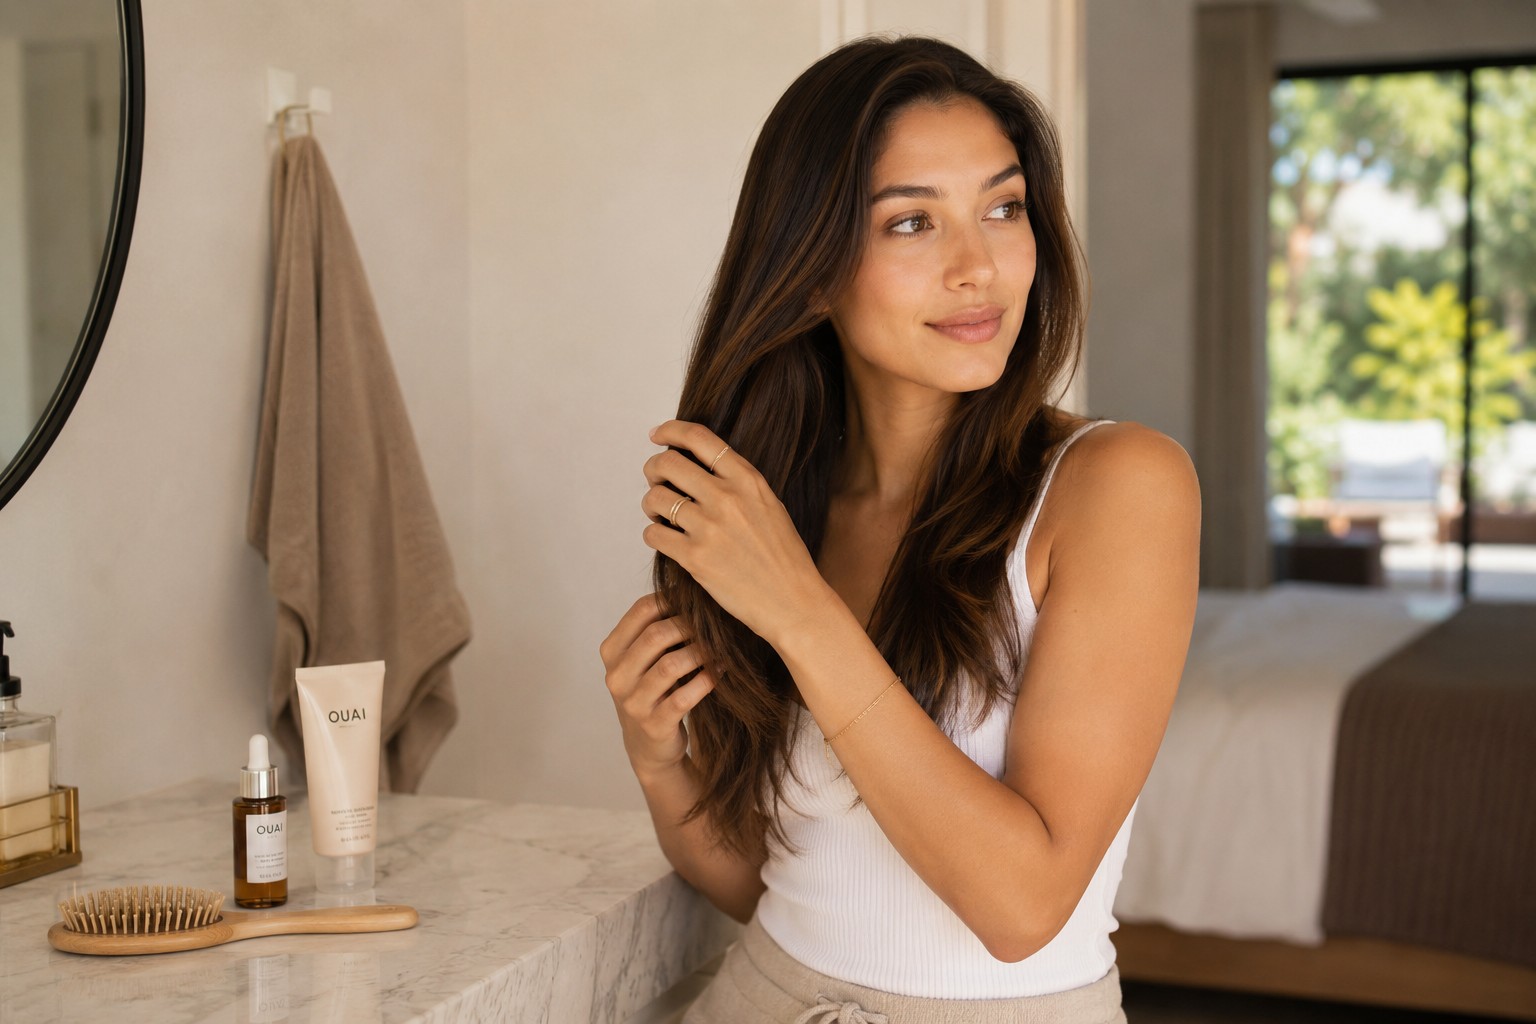
Maintenance
Healthy hair is built on a consistent, realistic routine rather than an overflowing shelf of products. This guide gives you a complete maintenance system covering daily, weekly, and long-term care for natural hair, wigs, and extensions alike. You will learn to match washing frequency to your hair type and climate, which steps genuinely matter, and how to spot early signs of damage before they spread. We also cover the common mistakes — overwashing, wrong products, and ignored warning signs — that quietly sabotage progress. The result is a sustainable plan that keeps your hair looking its best without consuming your time.
Read guide →
Problems
When hair problems keep returning, the issue is usually the approach rather than the products. This non-medical guide helps you understand and solve the most common concerns — thinning, lack of volume, frizz, breakage, and damage — by identifying their real causes instead of chasing symptoms. You will learn to tell shedding from thinning, dryness from true damage, and surface problems from structural ones, then build a deliberate routine around your hair structure, environment, and habits. We also flag the clear signs that mean it is time to see a professional, so you always know when self-care is genuinely enough.
Read guide →
Lifestyle
The best hairstyle is the one that fits how you actually live, not just how you want to look in a photo. This guide uses a lifestyle-first framework built on three filters — your available time, activity level, and climate — to help you choose styles that hold up in real conditions. You will find tailored guidance for busy professionals, gym-goers, frequent travellers, and anyone facing humid or extreme weather. We explain why salon-perfect looks often fail by mid-afternoon and how to test a style before committing. The goal is one adaptable, low-friction style that works across your whole day.
Read guide →
AI Stylist
Hair decisions feel overwhelming because every choice depends on several interacting factors at once. The Hairporium Hair Decision Engine and AI Hair Stylist solve this by turning complexity into clarity. Instead of generic virtual try-ons, the system runs your face shape, hair type, lifestyle, and goals through structured decision filters and compatibility mapping to produce recommendations built genuinely around you. This guide explains how the four-layer process works, why it is more reliable than guesswork or trends, and how it complements rather than replaces a human stylist. Discover how structured intelligence helps you stop guessing and start deciding with confidence.
Read guide →Our guides give you knowledge. The Hairporium AI Stylist takes it further — analysing your face shape, hair type, lifestyle and budget to give you a personalised recommendation built entirely around you. Free, no account needed.
Takes you to hairporium.ai — free, no sign-up required