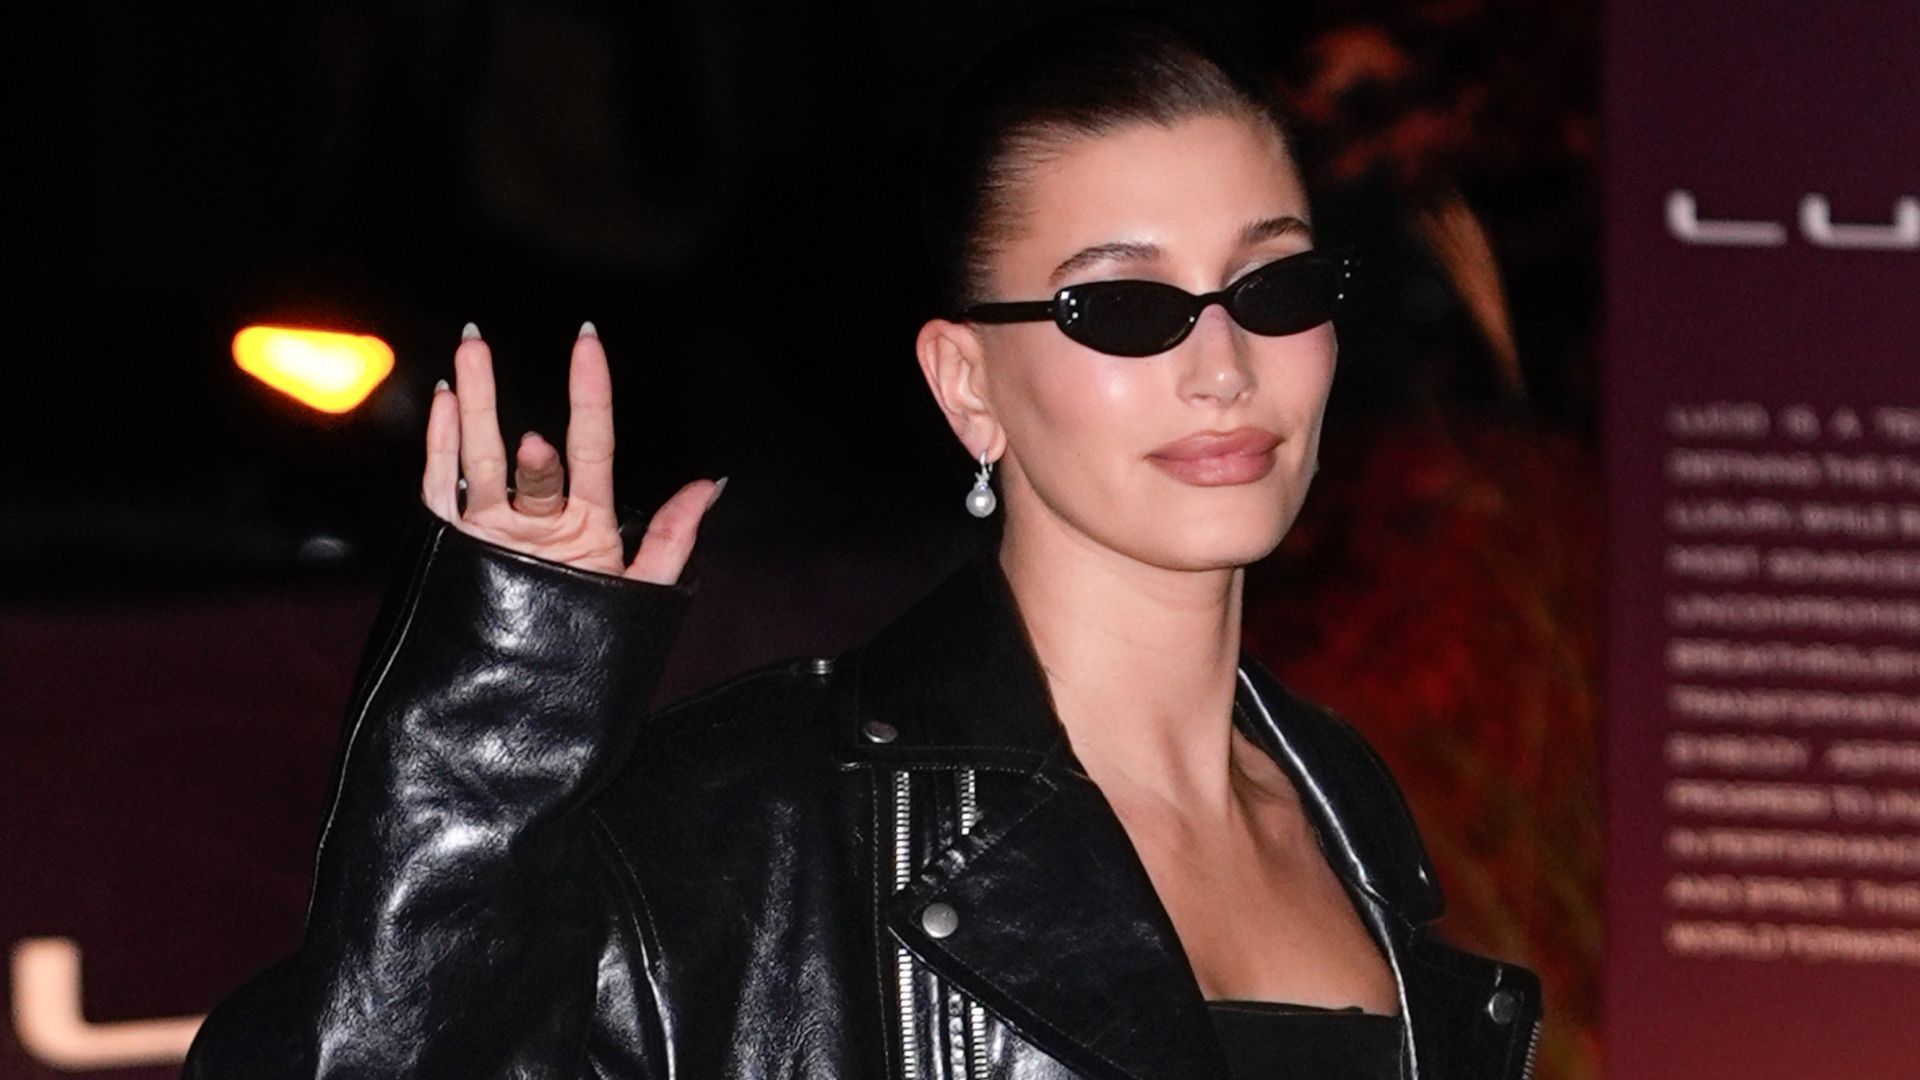


Hailey Bieber’s Messy Bun Is a Lesson In Cool-Girl Hairstyling
Hailey Bieber’s recent messy bun at a high-profile event crystallises a relaxed, modern approach to updos that’s less about perfection and more about attitude. The look — textured, slightly undone and perfectly placed — offers a straightforward template for anyone wanting to translate red-carpet ease into everyday wear. Below, we break down what makes the style work and how you can recreate the same cool-girl effect at home, without needing pro tools or a salon appointment.

Why the messy bun feels modern
The messy bun Hailey sported reads contemporary because it balances texture with restraint. It’s not a deliberately chaotic, bedhead knot; instead, it’s understatedly tidy at the crown while allowing movement at the nape and around the face. This blend of control and nonchalance is what designers and stylists refer to as ‘calculated ease’ — a look that suggests effort without showing it.
Texture is the foundation
Key to this style is texture. Hair that’s freshly washed and slippery won’t hold the shape or the lived-in finish. Conversely, hair that’s too overloaded with product can become weighed down and glossy, losing the softly undone quality. The ideal starting point is second-day hair or hair prepped with lightweight texturising mist or salt spray.
How to recreate Hailey’s messy bun: step-by-step
The celebrity version looks deceptively simple, but it’s built from small technique choices. Use the following steps as a practical routine.
- Prep: Work a sprayable texturiser through mid-lengths and ends. If hair is freshly washed, use a little mousse at the roots and blow-dry with a round brush for slight lift.
- Create the base: Gather hair into a low-to-mid bun. Use fingers rather than a comb to keep the crown slightly loose; aim for a soft oval rather than a tight topknot.
- Secure: Twist the hair into a loose coil and pin with bobby pins. Allow a few short strands to fall free at the temples and nape to soften the face.
- Refine: Tug gently at the crown and bun to create volume and an undone shape. Pull out a few wisps around the ears with your fingertips for a lived-in finish.
- Finish: Mist sparingly with a flexible-hold hairspray to maintain movement. For extra shine, smooth a pea-sized amount of hair oil over the ends only.

Tools and products that actually help
To replicate this look without overcomplicating your kit, focus on multitasking products and a couple of reliable tools. A wide-tooth comb helps with gentle detangling, while a few good-quality bobby pins and a non-metallic elastic will secure the bun without snagging. For product choices: a light texturising spray, a flexible-hold hairspray and a small amount of smoothing serum will cover most needs.
Stylist tips for different hair types
Hair length, density and natural texture affect the final result. Here are targeted adjustments to keep the aesthetic consistent across hair types:
- Fine hair: Backcomb gently at the crown for extra lift; use a volumising powder near the roots for grip.
- Thick hair: Create the bun slightly lower to distribute weight, and use stronger pins to anchor sections.
- Curly or coily hair: Define a few curls around the face with a small curling wand if needed; embrace natural texture when forming the bun.
- Very short hair: Use a padded or rolled bun accessory for shape, and allow micro-bangs or shorter layers to remain loose for softness.
Key Takeaways
- Texture, not stiffness, is the defining element of the look.
- Intentional imperfection gives the style its contemporary edge.
- Minimal, multitasking products achieve the polished-but-undone finish.
- Small adjustments allow the style to work across lengths and textures.
- Loose face-framing pieces and controlled volume at the crown make the bun flattering and wearable.
Frequently Asked Questions
Q: Can I make this messy bun look work for a formal event?
A: Yes. Keep the overall shape neat and elevate the finish with subtle accessories — a single decorative pin or a silk-wrapped elastic — and make sure stray pieces are controlled rather than frizzy. A light glossing serum applied to the ends will add refinement without removing texture.
Q: How do I stop the bun from falling apart during the day?
A: Start with a good base: texturised hair holds pins better. Cross bobby pins in an ‘X’ to lock sections, and use a flexible-hold spray to keep movement natural while maintaining shape.
Q: What if I don’t have salt spray or texturiser?
A: Dry shampoo works well to add grip and remove slipperiness from freshly washed hair. You can also scrunch a small amount of hand cream into the ends for temporary texture in a pinch, though this won’t last as long.
Q: Will this style damage my hair?
A: When done gently, messy buns are one of the least damaging updos. Avoid tight elastics and excessive backcombing, and alternate updo placements so the same area isn’t repeatedly stressed.
Q: How do I make the look more modern for day-to-day wear?
A: Keep the bun lower and softer for daytime. Pair it with minimal makeup and relaxed tailoring to lean into the modern, easy-luxe sensibility.
Explore More: Discover related reads from Hairporium — News • Guides • DIYs • Expert Articles.
Learn More


